Bright Ideas Recipe Homemade Solution Craft
Saturday, May 24, 2014
DIY SKIN SMOOTHER FOR SILKY SOFT LEGS

DIY SKIN SMOOTHER FOR SILKY SOFT LEGS

Did you know you are supposed to exfoliate your LEGS? I always assumed that the very act of SHAVING your legs was exfoliating in itself.  Oh silly me!

I stumbled across this idea for silky smooth legs at militaryfit-bombshell for the other day and knew I wanted to try it. When I started looking into it more…I came across all sorts of homemade leg exfoliators! Apparently you’re supposed to exfoliate each time your shave your legs. Who knew? Obviously not me. :-)
But I do now!  And although I feel like I’ve been missing out all these years….I couldn’t be happier about discovering this stuff! After using it this morning I would venture to say my legs have never felt softer OR smoother! No kidding.
The recipe is super simple…the most challenging part for me was actually finding time to take a bath. Well, unfortunately I never DID find that time….so I made do and used it in the shower instead. I’ve never really been a fan of shaving in the bathtub anyway. All that hair floating around and such. (sorry for the visual!) So this worked well for me.Leg Exfoliator

Super Silky Summer Legs


Ingredients.
  • 1 1/4 cup sugar
  • 1/2 cup oil (I used olive oil, but you can use any oil, coconut oil, baby oil, canola oil, etc.)
  • 3 tablespoons citrus juice (lemon or lime) OR 20 drops Lemon Essential Oil
  • Razor
Directions. 
Mix everything together. I put mine in a mason jar and just shook it all up. (If you take the glass jar into the bath or shower with you, please be extra careful.)

Leg Exfoliator 2

Soak your legs in the tub for 5 minutes. Or if you’re taking a shower, wash and conditioner your hair first, then after your legs have had a chance to soak for a few minutes, apply the mixture to your legs and rub it in. I was surprised at how GOOD this felt! I ended up using it on my feet and arms as well!
The abrasiveness of the sugar rubs off all the dirt and dead skin, the lemon juice works as a mild skin peel revealing brighter, smoother skin, and, of course, the olive oil penetrates deep into the skin and provides long-lasting moisture.
After rubbing the mixture in for a few minutes….it’s time to shave your legs. Feels pretty good huh?  Wellwe’re just getting started!
Now, rinse and REPEAT! Yep, do it again. Rub mixture all over legs (and feet!)…shave….and rinse again. This time you might want to use a mild soap to get some of the oil off. Or not. Your preference. (Note: make sure the bottom of the shower is oil-free when you are done so the next person in doesn’t get a slippery surprise. Since I used body wash after shaving, mine was fine.)
When you get out of the bath or shower, put lotion on and enjoy your silky smoooooooth legs!  I guarantee you will be so amazed at how soft your skin feels, you won’t be able to keep your hands off yourself! ;-)

Many thanks to OnegoodthingbyJillee.com for this article.
Read More
Thursday, May 22, 2014
DIY Stretch Marks Removal Cream

DIY Stretch Marks Removal Cream


DAVID POLLAK
, a beauty expert from JustaskDavid.com, is sharing with you how you can remove stretch marks permanently with home remedies. First, you need to understand where stretch marks come from. It is any sudden change in our body such as when you get pregnant or gain a lot of weight, the other would be quick weight loss; teenagers are going to growth spurt speed and body builders can get stretch marks when they work out a lot in bulk up. So the first thing you want to do is not have certain changes to the body. The other thing that cause a stretch marks is overtime age, poor diet which have an effect on the collagen elastin that helps boost up the skin levels. So what can you do to remove them permanently. 


FIRST, work on your diet. Incorporate fruits, vegetables and items that can help boost collagen levels and hydrate the skin such as cucumbers, kale, spinach, vitamin C and orange because they not only boost collagen but also fight free radicals. You can also use hyaluronic acid with your tablets which will help boost collagen levels as well.
Next, one of the exfoliate way to help get rid of the damage skin cells, you can use different remedies and then follow with a nourishing cream that you can make it yourself for the DIY STRETCH MARKS CREAM. 


WHAT YOU NEED

Ingredients:

¼ Cup Cocoa Butter
1 Tablespoon Wheat Germ Oil
1 Teaspoon Sesame Seed Oil
1 Teaspoon Apricot Kernel Oil
2 Vitamin E Capsule (cut open to release oil)
2 Teaspoons Grated Beeswax
1 Teaspoon Vanilla Extract


  • Take Vitamin E capsules, puncture them, and add them in. 
  • Melt in a pan to heat up (don't let it boil really. That ends up taking out all the healing properties), take it off the heat and maybe pour it into the similar bowl that he uses, let it cool off overnight and give it time to solidify/harden.


*It should then be ready to use.


*ALSO! You must put on a great moisturizer to rehydrate the area that you just put this mixture on.

Give it a try and you'd be surprised!

Read More
Thursday, April 17, 2014
Homemade Organic Apple Cider Vinegar

Homemade Organic Apple Cider Vinegar

Over the centuries, many people have used Apple Cider Vinegar for many different purposes such as: making pickles, dressing salad or folk remedies. Today, it becomes more popular that ACV has some significant benefits for taking care of our beauty like losing weight, brightening up the skin, caring hair, etc.

Making DIY ACV is always such an easy and inexpensive way. It just takes a short amount of your time by 100% natural and safe way. There are many methods to make Apple Cider Vinegar, including making ACV from scraps or whole apple. According to this article, we will show you the way how to make it from scraps. 

This method uses apple scraps like the peels and cores. This is a perfect convenient method, the reason is that you can both eat the apple and make ACV as well. This way is recommended because it’s faster and effective than using the whole apple.


Apple Scraps Vinegar
Let’s get it started!

Ingredients.

A wide – mouth jar

Apple scraps (the peels and cores from apple)

A piece of cheesecloth for covering jar.

Directions.

Step 1.

Leave the scraps to air until they turn brown as you want.


Step 2.
Put the apple scraps into the jar and top it up with water. You can continue add scraps for a few days later if you want, but don’t put it on top of the jar.


Step 3.
Cover with the cheesecloth and put it in the dark place.


Apple Scraps Vinegar


Pour the vinegar through a strainer to filter out the scraps. If it doesn’t turn out strong enough you can add more sweetener and ferment for another couple of weeks.

Apple Scraps Vinegar

You’ll notice the scraps in the jar starts to thicken after a few days and grayish scum forms on top. When this happens, stop adding scraps and leave it for a month for fermenting. 
After a month later, you can taste and start testing it. If it suitable with you, strain out the apple scraps and bottle the vinegar. It is ok if your vinegar is cloudy. There will be some sediments from the apple. If you don’t like the cloudiness, straining it through a paper coffee filter which will remove most of the sediments.


What is your favorite way to use apple cider vinegar?


Apple Scraps Vinegar
(Note: This article contains some photos sourced from Onegoodthingbyjillie.com)
Read More
Tuesday, July 30, 2013
Best Expert Ways to Remove Dark Circle & Brighten Up Your Eyes

Best Expert Ways to Remove Dark Circle & Brighten Up Your Eyes


We’ve all been there: You catch a glimpse of yourself in the mirror and see the eyes of a tired woman staring back at you. But a full night of shut-eye isn’t enough to erase those dark circles, says Charlotte Clark, a dermatologist in New York City. It may help diminish their appearance a bit, but to get rid of circles for good, first consider their source.


Why They Appear.


Genetics are the biggest culprit. If you inherit fair or thin skin under the eyes, it’s more obvious when blood pools there (often because of slower circulation from lack of sleep). This accumulation causes fragile capillaries to stretch and leak.

Age is another factor. Over time, skin loses collagen and thins, so veins show through more prominently. Sunbathing speeds up this process by breaking down collagen and mottling skin color.

Seasonal allergies are to blame for many people. “They trigger the release of histamines in the body, which in turn inflame blood vessels and cause swelling,” says Ranella Hirsch, a dermatologist in Boston. To determine why your circles happen, gently stretch the skin under your eyes. If that area becomes darker, the circles are probably due to genetics or aging. If the color doesn’t change, UV rays or allergies are probably the cause.

How to Treat Them.


If your circles are the result of vascular issues, double up on pillows at night to stop blood from building up under your eyes. In the morning, apply a cold compress for about five minutes to constrict the blood vessels, says Jeannette Graf, an associate clinical professor of dermatology at the Mount Sinai School of Medicine, in New York City. Use an eye cream with caffeine, which helps constrict vessels (try Lancôme Rénergie Microlift R.A.R.E. Intense Repositioning Eye Lifter; $72, lancome-usa.com for info). Other smart alternatives: Arnica-based creams (found at health-food stores), which are considered to have anti-inflammatory properties, may reduce the appearance of darkness. And eye creams with green tea or grapeseed oil help strengthen capillary walls (try Replenix Intensive Eye Lightening Serum, $59, dermstore.com). You can tweak your diet, too. Flavonol-rich dark chocolate (an ounce a day) and foods full of omega-3 fatty acids (salmon, walnuts) may improve blood flow to the skin, says Lisa Drayer, a registered dietitian in New York City.


For allergy-induced circles, consider taking an over-the-counter antihistamine before allergies begin to abate shadows.

And, last, if thin skin is the issue, use a collagen-building cream. “One of my top go-to ingredients is retinol,” says Hirsch. “It helps increase collagen production” (one product to try is ROC Multi-Correxion Eye Treatment, $25 at drugstores). Vitamin C also encourages production and can help brighten skin tone (find it in a product such as Renée Rouleau Vitamin C Eye Serum, $42.50, reneerouleau.com). And wear sunscreen daily, says Hirsch, or you’ll cancel out the benefits from any of these treatments.

For quick circle camouflage, apply eye cream and let it dry for a few minutes. Then pat on a creamy concealer that matches your skin tone. Top with a layer of loose powder, which helps prevent makeup from caking in creases.

Source: Real Simple

Read More
Thursday, June 13, 2013
DIY Homemade Yogurt Facemask for Sensitive or Sunburnt Skin

DIY Homemade Yogurt Facemask for Sensitive or Sunburnt Skin


Yogurt is undeniably good for you. Definitely. I often apply this recipe twice a week and found it very effective in treating acne and dry skin. Yogurt is so mild that even those with highly sensitive skin can use it every day. This mask is great for soothing chapped, sunburned or otherwise irritated skin. 
Extra tip: This mask works well for other skin types as well. For oily skin, add a couple drops of lemon or lime juice. For dry skin, mix in a couple tablespoons of honey.

Ingredients:

  • 1 cup natural yogurt 
  • ½ cup oatmeal (any type of basic oatmeal works here)                                             

Preparation:

Mix the ingredients together.
Apply to the skin for 10-15 minutes.
Wash off mask with a washcloth steamed in the microwave (careful that it's not too hot).

Another fun option for oatmeal face masks: 
Egg whites. Mix the oatmeal and an egg white with grapefruit and honey. Let the mixture dry on face, then gently wash off with a few splashes of warm water. Follow with a steaming washcloth to the face.


Hope you enjoy!
Read More
Friday, June 7, 2013
Homemade Bath Salts DIY

Homemade Bath Salts DIY


Hello beauties! Any exciting plans this weekend?
Today I’m sharing a Homemade bath salts recipe. This lavender bath salts recipe is simple to make and is perfect for giving away as a gift! They really are almost too easy...and pretty hard to mess up. It's a great recipe/project for kids...or kids who want to help their parent make something special.
Bath Salts.
Homemade lavender bath salts recipe:
1 cup Mineral and Dead Sea Salt
1-2 drops of lavender essential oil
4-6 drops of soap colorant
In a bowl mix together salts and lavender essential oil. Add in coloring and mix until well combined. If you prefer a darker color increase colorant one drop at a time until you achieve desired shade. Store in an airtight container to allow the lavender essential oil to infuse the salts.You can leave out the colorant if you would like to keep this recipe as natural as possible. Another great idea is to mix in your favorite herbs to the mix.

Im sure that you guys are not going to be disappointed with this. Good luck!
Read More
Wednesday, June 5, 2013
DIY Tub Teas at Home

DIY Tub Teas at Home


Nothing soothes the soul like a good long soak, especially with a heady infusion of calming scents. 

Preparation: Tools and Materials
  • Heat-sealable tea bags
  • Lavender buds
  • Chamomile buds
  • Peppermint leaves
  • Dried organic lemon verbena
Tub Teas How-To:Fill heat-sealable tea bags (perfect for one bath) with 1/4 cup lemon verbena, lavender, peppermint, or chamomile. For small bags, top 5 1/4-inch starched muslin circles with 1 tablespoon of botanicals; tie with waxed twine. Giving a few of these in different scents lets bathers customize each bath.

Enjoy!

TAG: Beauty
Read More
Tuesday, June 4, 2013
Home Spa Cuticle Oil Recipe

Home Spa Cuticle Oil Recipe


 Preparation:
  • 1 tablespoon Avocado oil
  • 1 tablespoon Wheat germ oil
  • 5 drops vitamin E oil
  • 10 drops Lemon essential oil *
  • 10 drops Lavender essential oil*
You can also use this on your fingernails every couple of days, if you really want them to grow long and strong.
*If you’re pregnant, check with your doctor before using essential oils or feel free to skip them in this recipe as I have designed the cuticle oil so that it still works really well without. The problem is that there have been very few studies into the impact of essential oils on pregnancy and there is a lot of conflicting information with what oils can and cannot be used in pregnancy, which is why I think it is something that you and your doctor will have to decide what is appropriate for you. It is interesting to note that the FDA has listed a lot of the essential oils as safe to eat as food additives.

Read More
Monday, June 3, 2013
DIY Winter Aroma Spray

DIY Winter Aroma Spray


diy aromatherapy spray
This Winter Blues spray is like a burst of sunshine in your brain on a dreary gray day. For half the year here in Oregon we live under a blanket of glowy clouds and wander through a mist of cool rain. A rare slice of sunlight can weave rainbows into our skies, causing great celebration until the clouds creep back and gobble the rays up yet again.

Fruity and light, I formulated this blend with aromatherapeutic scents that uplift the spirit and deflect winter anxiety, grumpiness, and depression. Let's get started.


Ingredients.

5 drops organic Sweet Orange essential oil
3 drops organic Petitgrain essential oil
2 drops organic Roman Chamomile essential oil
2 drops organic Nutmeg essential oil
1 oz organic Witch Hazel extract or vodka


Directions.


Drip oils together in a glass spray bottle and mix by rolling the bottle between the palms of your hands. Pour witch hazel extract to the top of the bottle and shake well. Spray in the air or on the body when in need of a smile.

Good Luck!


Tag: Aromatherapy Spray
Read More
Delectable Detox Smoothies - Sip your body back to good health

Delectable Detox Smoothies - Sip your body back to good health


The Super Green

Powerful detox action masquerades as another delicious shake from Prevention's Lori Powell (it's pictured here with the Berry Breakfast Smoothie.) The celery and parsley that contribute to its bright green color are diuretics that help rinse toxins from your system. Kale and mango are superfoods bursting with nutrition that support your cleanse.


PREP TIME:
15 minutes


TOTAL TIME:
15 minutes


1¼ cups chopped kale leaves (stems and tough rib removed), preferably Lacinato (also known as dinosaur)
1¼ cups frozen cubed mango
2 medium ribs celery, chopped
1 cup chilled fresh tangerine or orange juice
¼ cup chopped flat-leaf parsley
¼ cup chopped fresh mint


COMBINE all ingredients in blender.


PUREE until smooth.


POUR into 2 chilled glasses.


NUTRITION (per serving): 160 cal, 3 g protein, 39 g carbs, 5 g fiber, 0.5 g fat, 0 g sat fat, 56 mg sodium


TAG: Good Health
Read More
How To Get Rid of Freckles

How To Get Rid of Freckles


Freckles
are harmless but as they look bad and can be quite embarrassing. There are medical ways to remove freckles but the process can be very expensive.
If you have freckles, then you can easily get rid of them by trying several natural treatments at home. These treatments are safe to try at home and there is also no risk of side effects.
Both men and women can have freckles. According to the American Association of Dermatologists (AAD), freckles are a sign of skin damage. Some of the common causes behind the appearance of freckles are too much exposure to the sunlight, hereditary, hormonal imbalance, and many more. Though freckles could be present all over the body, they are mostly present in areas which often get exposed to sun rays.


HERE ARE TOP 10 HOME REMEDIES TO GET RID OF FRECKLES 


Sour Cream.


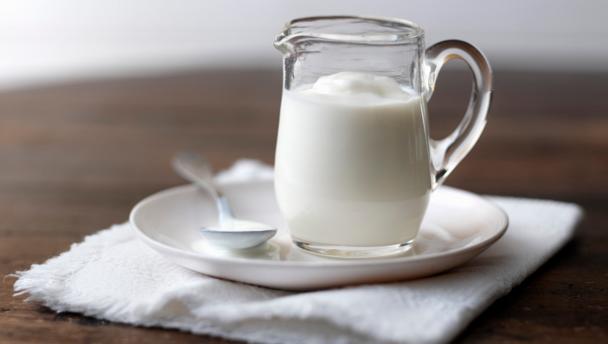
The lactic acids present in sour milk can help a lot to get rid of ugly freckles. Take some sour cream and directly apply it on the affected skin area and allow it to dry for a few minutes. Instead of rinsing it off completely with water, you must gently wipe it off with a soft tissue or a towel and then apply some moisturizer. This remedy will not cause skin irritation or dryness. Follow this remedy at least once daily until the freckles go away. Alternatively you can also rinse the affected skin area with sour milk daily. In case you do not have sour milk, then you can always use yogurt.


Lemon Juice.


Lemon juice is a highly effective ingredient that can be used to treat freckle as well as brown spots. Lemon juice has lightening properties and so it will nicely bleach the dark spots on your skin. Take fresh lemon juice and with the help of your fingers apply it on the affected skin area and gently massage the area for ten to fifteen minutes. Finally rinse the skin with lukewarm water. Do this remedy twice a day. Another option is to dissolve some sugar in the juice of one lemon and then apply this mixture on to the affected area with the help of a brush. Gently massage for some time and then wash the skin with water.


Honey.


Make a mixture of honey and water and heat it slightly and then apply it on the affected area and allow it to sit for a few minutes. Finally rinse the area properly with warm water. You can also make an herbal mask at home by mixing wheat germ with warm honey. Apply this mask and allow it to sit for about ten minutes and then rinse the area with warm water and then wash it again with cold water. This is one of the most effective home remedies for freckles. Another option is to make a mixture of honey and yogurt, and apply it on the freckles for half an hour daily.


Eggplant.


Eggplant can also be used to remove freckles. Take one fresh eggplant and slice it into thick pieces and apply the slices all over the affected skin area. Gently rub the eggplant slices in a circular motion and leave them on the skin for ten to fifteen minutes. Follow this remedy once daily for about a week to notice significant improvement in the appearance of your skin. The freckles will become lightened considerably after two weeks.


Buttermilk.


Applying buttermilk on freckles can also help in lightening them. In fact, one of the easiest ways to get rid of freckles is to apply buttermilk over the freckles, leave it for ten minutes and then rinse it off with lukewarm water. Another option is to make a thick paste of powdered oatmeal and buttermilk. Apply this paste on the affected area, leave for about half an hour and then finally wash it off with cold water. Do this remedy once daily until you get positive results.


Horseradish.


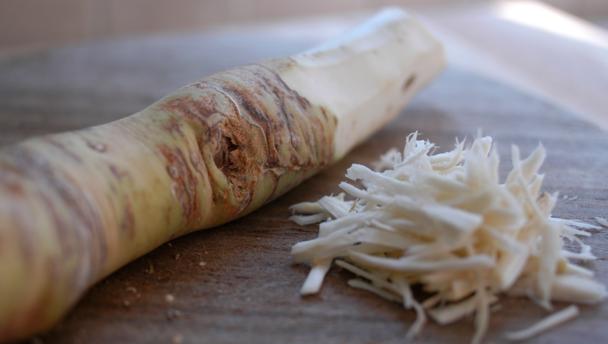
Horseradish juice when dabbed on the affected skin area for ten minutes daily can also help a lot in lightening the freckles. Another option is to take one grated horseradish and mix it with the juice of one lemon and blend them together to make a paste. Apply this paste all over the affected skin area and allow it to dry. Finally wash it off with the help of some cold water. When this remedy is followed on regular basis it will soon lighten the freckles and make them less noticeable.


Onion.


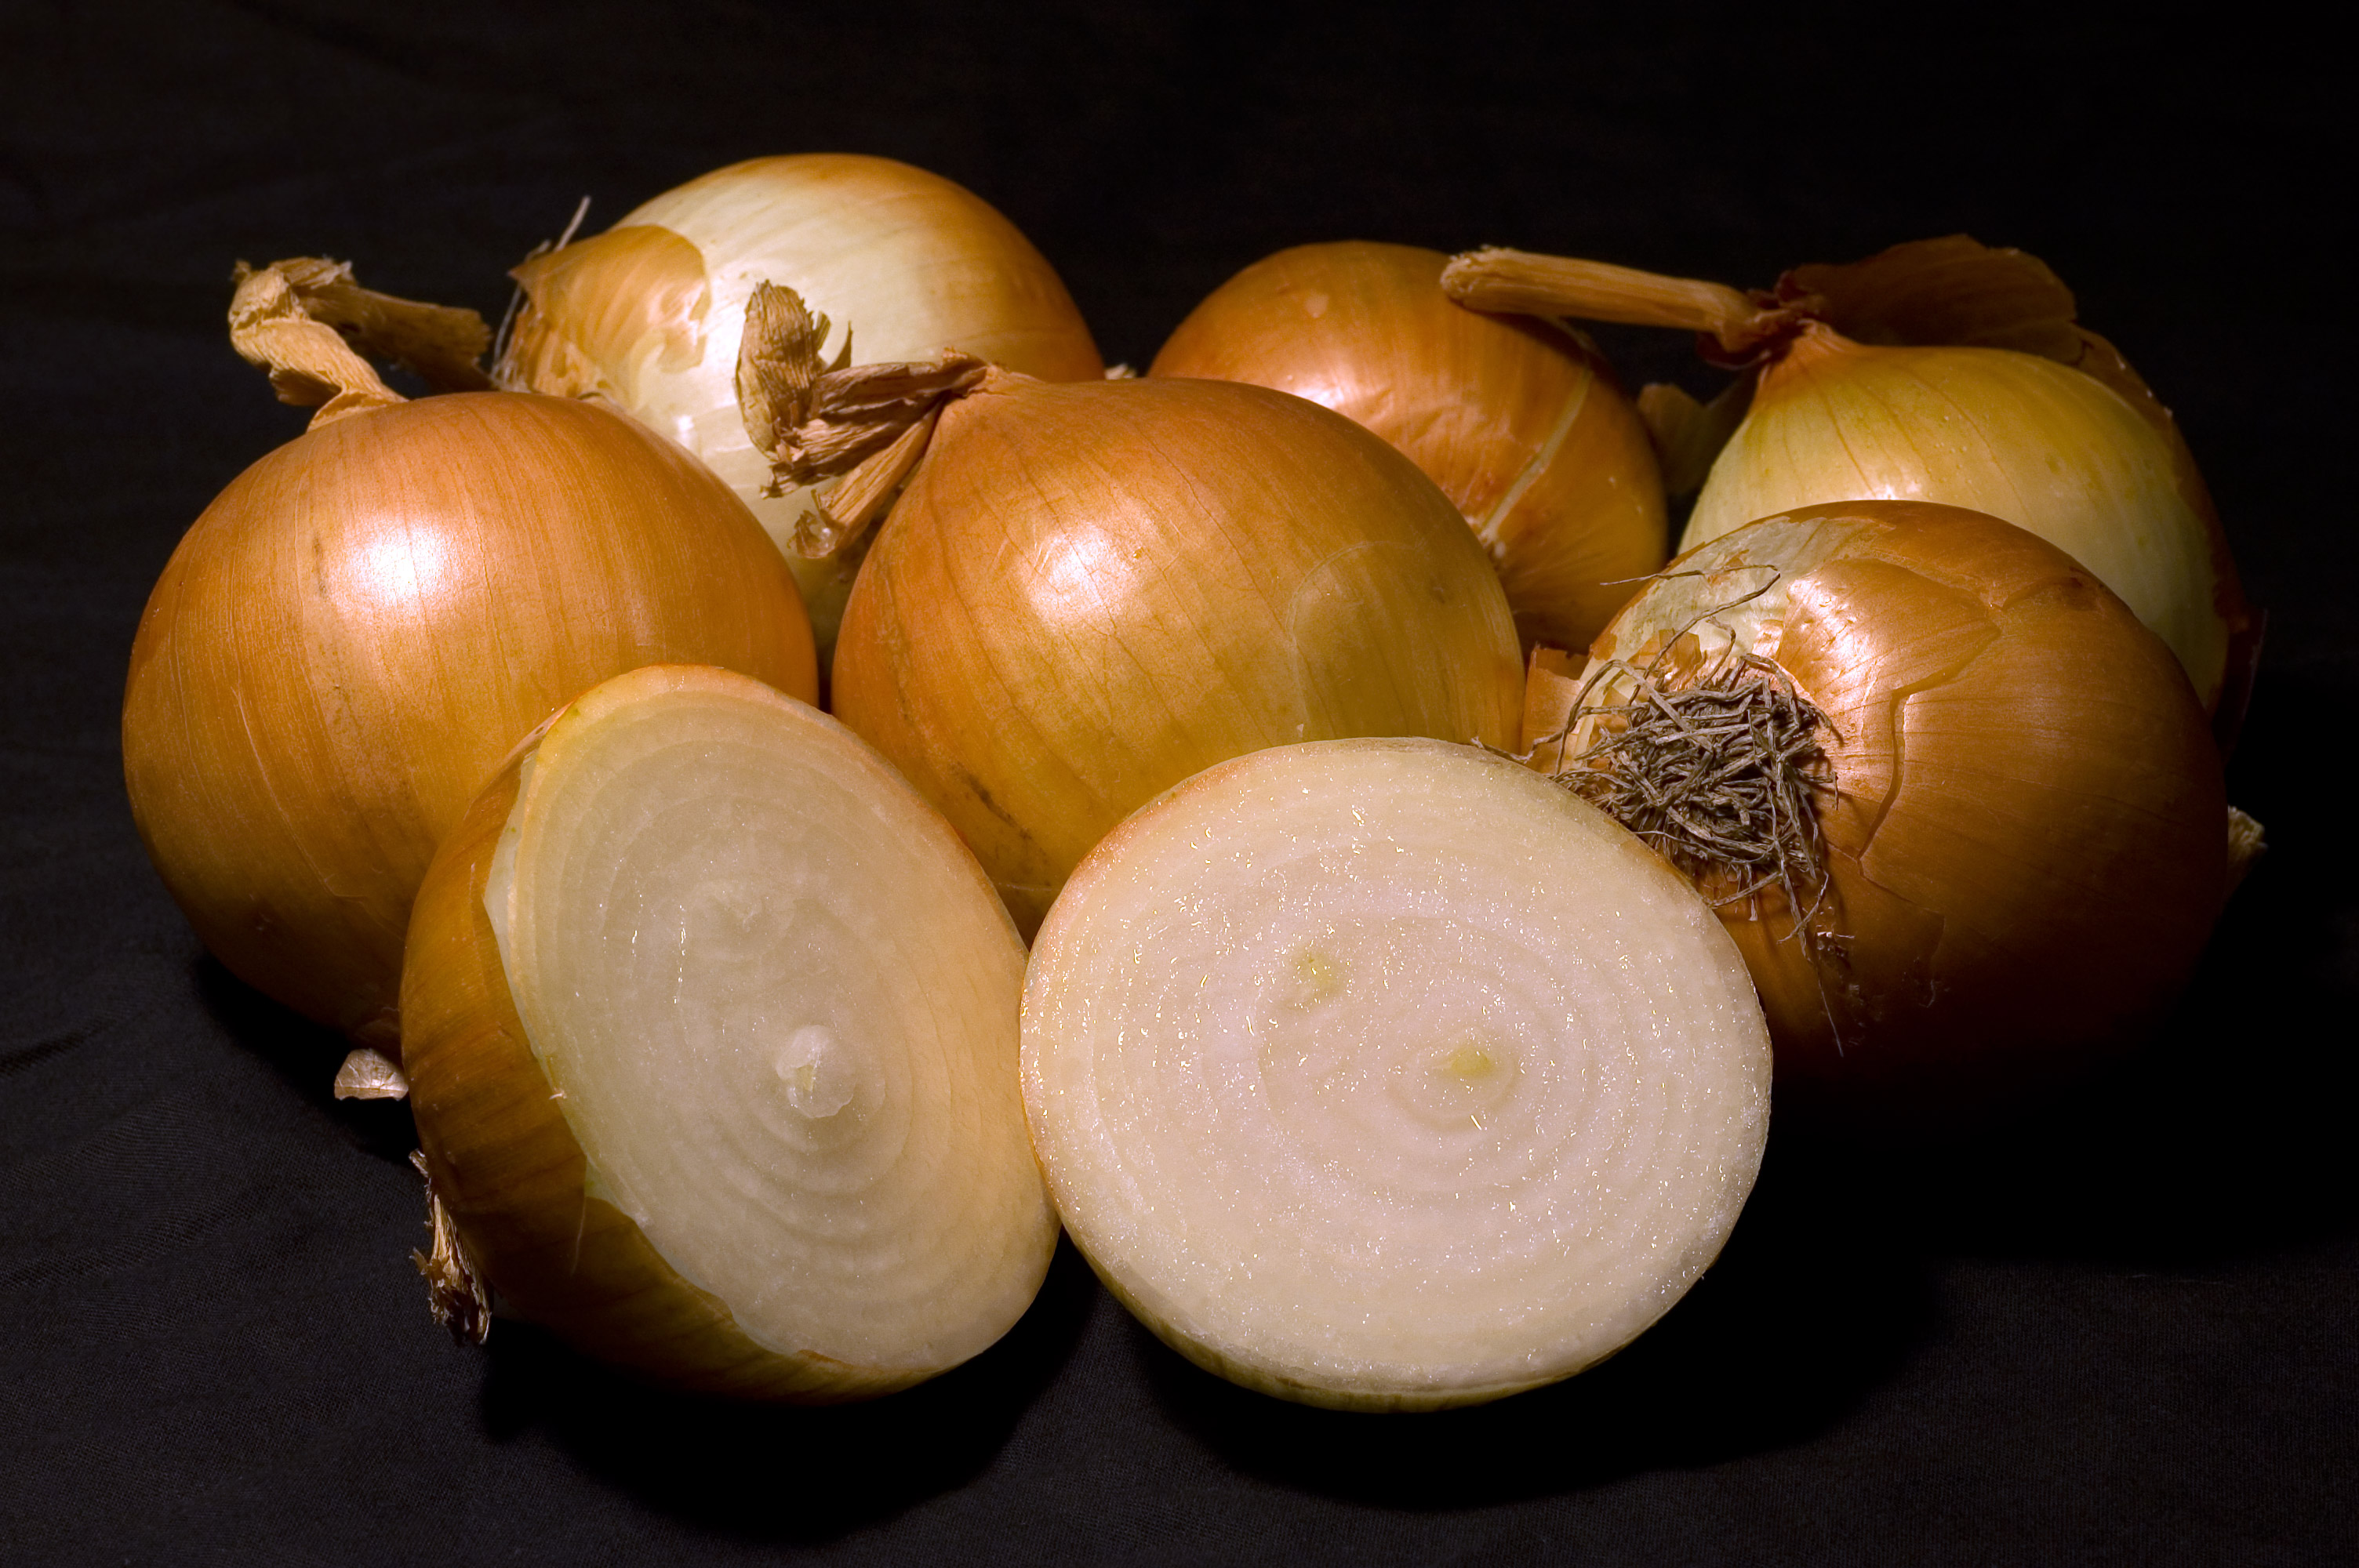
Onions also can be used for removing freckles and brown spots. For better result, use red onion instead of the normal one. Take one red onion and cut it into thick slices and then rub the onion slices gently on the freckles twice daily. You must continue this remedy daily until the freckles fade away. Another option is to grate one red onion and extract its juice and then apply the juice onto the affected skin area twice a day. For better result, add a teaspoon of vinegar to onion juice. If this remedy is repeated for a week or two, nothing can stop you from enjoy spotless skin.


Castor Oil.


Castor oil is another way to treat freckles at home as it can equalize the skin pigmentation and help the freckles to fade away. Before going to bed, apply castor oil on the affected skin area and next morning wipe it off with a soft tissue and then only wash the skin with lukewarm water. Continue this remedy daily until you get rid of the freckles. For better result opt for odorless castor oil. Alternatively, you can also use vitamin E oil or olive oil to reduce blemishes and freckles.


Papaya.


Papaya juice is another effective remedy to get rid of ugly freckles. Papain is a kind of enzyme present in papaya that can help to lighten freckles. Take fresh papaya juice and apply it directly on the freckles with the help of a clean cotton ball and gently massage the area. After ten minutes, you can rinse the skin with the help of some cold water. This remedy will remove freckles and any other kind of skin blemishes and at the same time it will make your skin healthier and soft.


Sesame Seeds.


For this remedy you will need equal amount of sesame seeds and turmeric. Mix both the ingredients together and grind them properly by adding little water to make a smooth paste. Apply this paste on the affected skin area. Leave it for ten to fifteen minutes and then rinse it off with cold water. Make this a daily routine and soon your freckles will fade away.
Read More
Home Remedies for Yellow Teeth

Home Remedies for Yellow Teeth


A shining set of teeth can make anyone appear more healthy, more pleasant and young looking. Also nothing makes a smile more beautiful than sparkling white teeth. This is the reason why many people avoid smiling in public places as their teeth are not as shiny as they want it to be. Teeth may become yellow due to diffirent reasons such as hereditary factors, improper dental hygiene, age, excessive consumption of tea and coffee, tobacco and cigarette. Even high doses of antibiotics along with some type of injury, climatic conditions, infection and improper metabolism can also contribute to discoloring of teeth.

People often go for professional treatment to remove the yellow tinge from their teeth but such dental treatments need time as well money. In case you wish to get rid of yellow teeth you can try some natural remedies. There are many kitchen ingredients which you can use to make your teeth look like pearl white and that too without any side effects.


HERE IS TOP 10 REMEDIES FOR YELLOW TEETH


Baking Soda. 


Baking soda is one of the effective ingredients that you can use to get rid of your yellow teeth. You can make a whitening mouthwash with baking soda by mixing two tablespoon of baking soda with one cup of cold water. Now use this whitening mouthwash to rinse your mouth two to three times in a day. This remedy can easily correct minor yellow stains. At the same time you can also scrub your teeth gently for at least two minutes with diluted baking soda for sparkling teeth. Follow this remedy twice a week for the first week, and then follow it in every fifteen days. It is essential to note here that excess use of baking soda can strip your teeth of its natural enamel. 


Strawberries.


Strawberries contain good amount of vitamin C, which help in making your teeth whiter. Take a few strawberries and grind them to make a paste. Now use this paste to rub your teeth gently. If done twice daily for a few weeks, the yellow tinge on your teeth will vanish. Another option is to mix the pulp of one strawberry with half a teaspoon of baking soda and then spread the mixture onto your teeth and allow it to sit for a few minutes. Finally rinse out your mouth and brush your teeth with toothpaste to get rid of any residue.


Lemon.


The bleaching property present in lemon can also be used to get rid of yellow teeth. In fact, gargling with lemon juice and scrubbing teeth with lemon peel is also one of the best ways to make your teeth white. Take a few drops of lemon juice and add some salt to it. Now apply this mixture on the stained teeth and rub the paste vigorously over your teeth and gums. Leave for a few minutes and then rinse your mouth properly with normal water. Follow this remedy twice daily for about two weeks to get rid of tartar and yellow tinge. 


Apples.


Apple is a kind of crunchy fruit that can scrub your teeth like a toothbrush and make your teeth look whiter than before. Try to eat one or two apples daily to get rid of the yellow stain accumulated on your teeth. When eating an apple make sure to chew them properly so that the acidic nature of apple and the fiber rich rough flesh get ample time to work on your teeth and help to remove the yellow stain. Apart from apples, you can also eat other crunchy food items such as raw carrots, cucumbers and broccoli. 


Holy Basil. 


The leaves of holy basil have whitening properties and hence it can be used to make your teeth whiter. At the same time holy basil can also protect your teeth from gum problems such as pyorrhea. Take few leaves of holy basil and keep them in the sun for few hours. Once the holy basil leaves become dry you need to grind them to make some powder. Now mix this powder with your regular toothbrush and then use it to brush your teeth. Another option is to make a paste of holy basil leaves with mustard oil and then use it to clean your teeth. 


Margosa.


You can also use margosa to enjoy white healthy teeth. You can use margosa twigs as a toothbrush to brush your teeth. Chewing margosa branches helps in tackling teeth problems and clears the yellowness from the teeth. At the same time you can use margosa oil and mix it with your regular toothpaste and then use it to brush your teeth. Due to the astringent and antiseptic properties, regular use of margosa oil also help to get rid of bad breath and dental cavities. 


Salt.


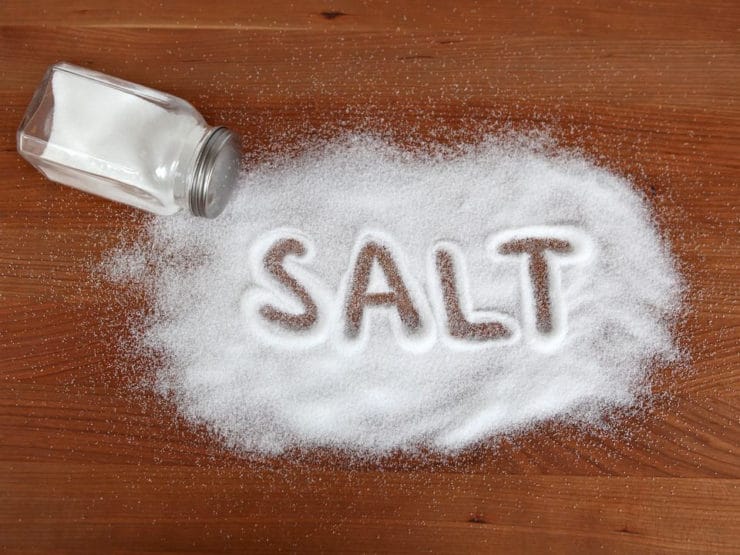
Salt is one of the fundamental dental cleansing agents used since ages as it helps to replenish the lost mineral content of the teeth and help them to regain their whiteness. You can use common salt regularly each morning as a toothpowder instead of toothpaste. Another option is to mix common salt with charcoal and then use it brush your teeth regularly. You can also mix common salt with baking soda and then use it to rub your teeth gently in order to reduce the yellow tinge accumulated on your teeth. When using salt you need to be extra careful as salt can cause damage to gums and enamel if used roughly. 


Charcoal.


Charcoal is one of the best known home remedies for yellow teeth. Charcoal, has a powerful crystal based chemical which results in teeth whitening. Take some charcoal powder and mix it with your regular toothpaste and use it to gently brush your teeth. Do it twice daily to make your teeth sparkling white. Along with charcoal you can also use the ashes of burnt bread and burnt rosemary in order to make your teeth whiter. 


Orange Peel.


You can also clean your teeth with fresh orange peel on regular basis in order to reduce the yellow tinge accumulated on your teeth. To make your teeth white, rub orange peel on your teeth every night before going to sleep. The vitamin C and calcium present in the orange peel will combat with the microorganisms all through the night. Within a few weeks you can notice effective results and your teeth will appear more shiny, stronger and whiter. If fresh orange peel is not available then you can use dried orange peel powder. 


Hydrogen Peroxide.


The mild bleaching effect of hydrogen peroxide can also help a lot in getting rid of yellow teeth. You must gargle with a mouth wash having hydrogen peroxide in order to reduce yellow staining from your teeth. While gargling make sure not to swallow the hydrogen peroxide. At the same time you can make a paste of baking soda with hydrogen peroxide and use it to brush your teeth gently. Later brush your teeth with your regular tooth paste to make your teeth whiten. However, it is important to note that you need to use hydrogen peroxide with extra caution as it can cause irritation of gums and make your teeth sensitive.
Read More