Jillee also said that this is an All-Purpose Healing Stick formula and it is her new EO crush! She have had surgical procedures and stitches before and have never healed as quickly and nicely as she did when using this mixture faithfully.
The All-Purpose Healing Stick is not only work great on stitches and skin lacerations, you can also put it in a spray bottle and use it as an Owie Spray for your little ones inevitable cuts and scrapes. It’s also works on blemishes, burns, bruises, and bug bites!
Amazing, lets get started!
CW All Purpose Healing Stick
What you’ll need:
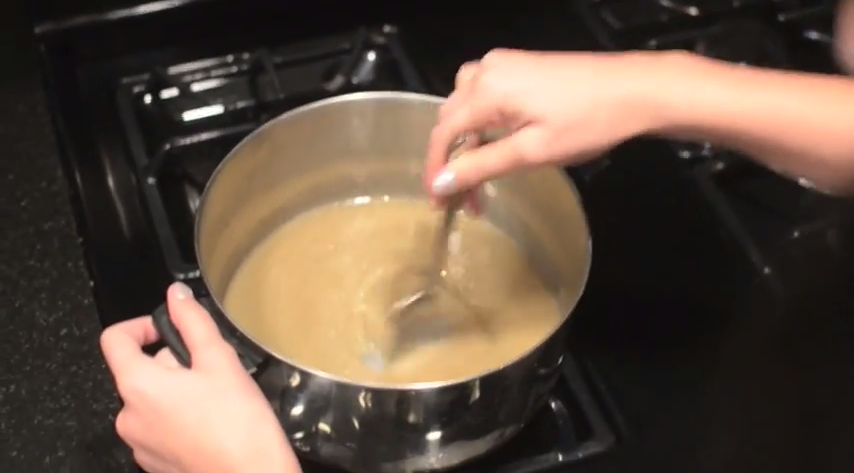
Directions:
Shake gently before using and apply as needed.
Jillee applied it several times a day until it was almost completely healed. You will see it was amazing how fast it healed up (even you are NOT a fast healer by nature!)
Here are pictures of her thumb and one of her pinkies a few days after the procedure:
Here are pictures Jillee took 3 days later:
Here are pictures taken one week later:
And finally, here are pictures taken just a few days ago – or 3 weeks later.
You just can’t argue with results like that!
And here is a picture she took yesterday of her new neon nails
Hands are 100% happy and healed. :)
Do yourself a favor, mix some up and keep on hand for all of life’s big and little healing needs.
Thanks to Onegoodthingbyjillee.com.